
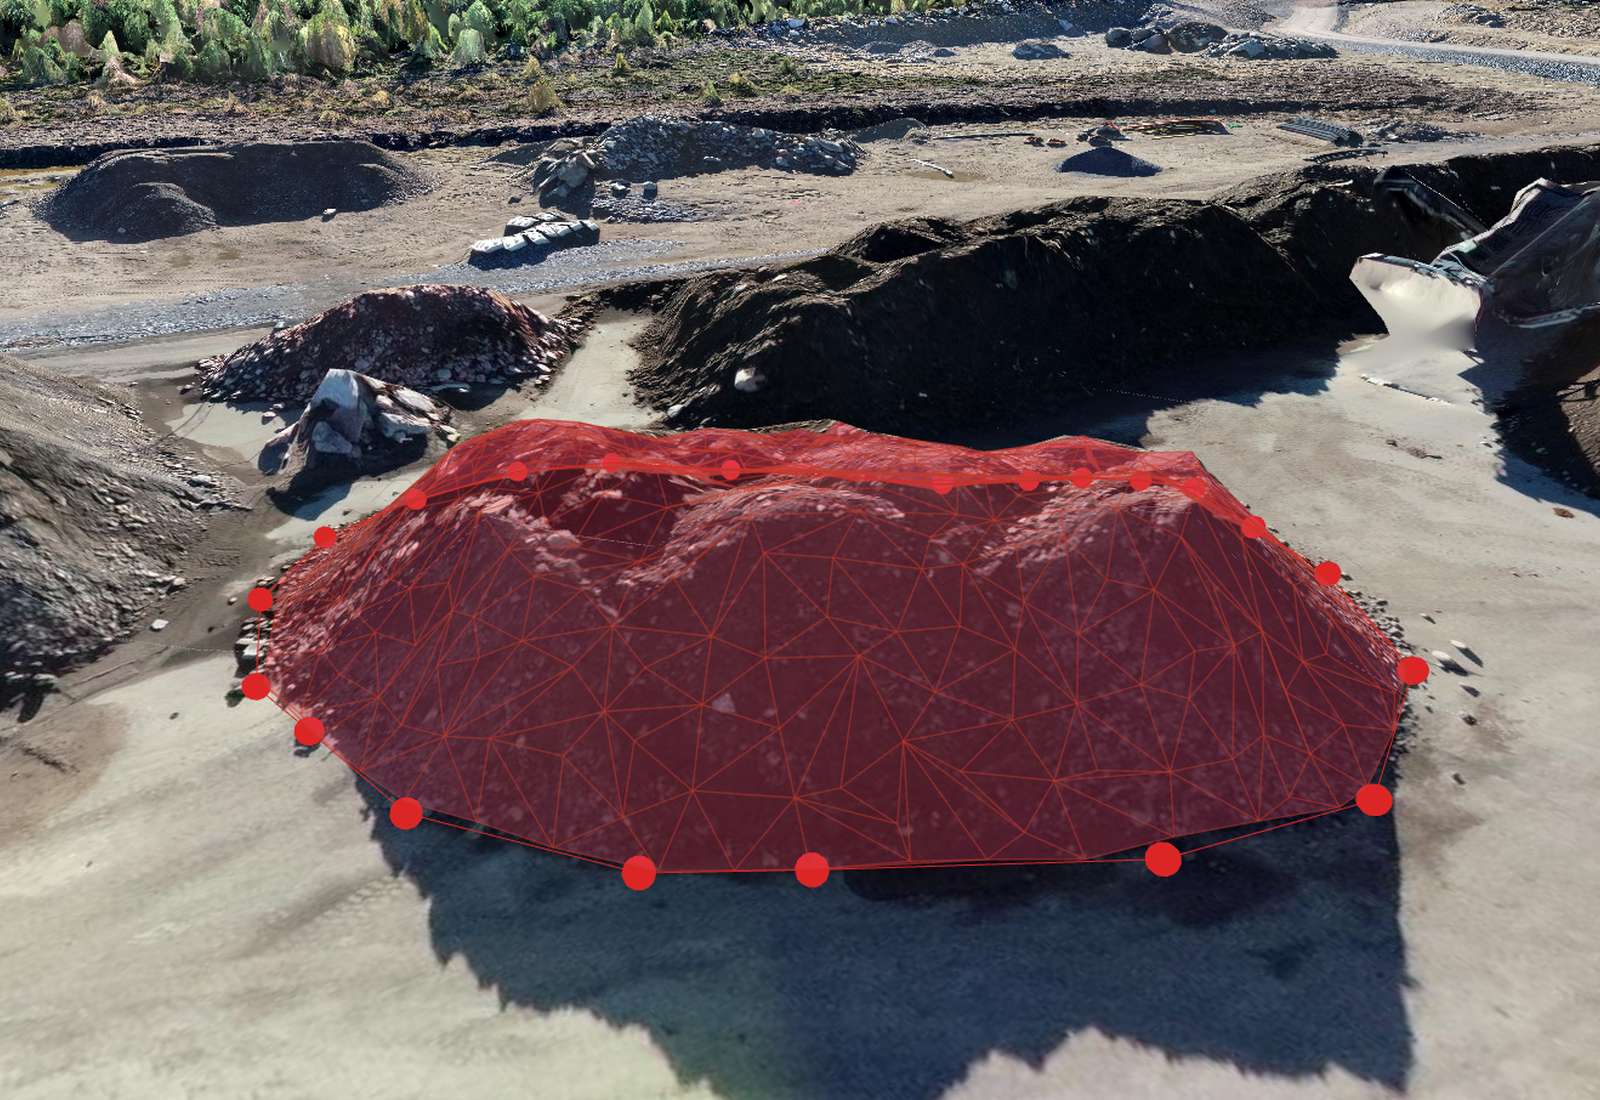
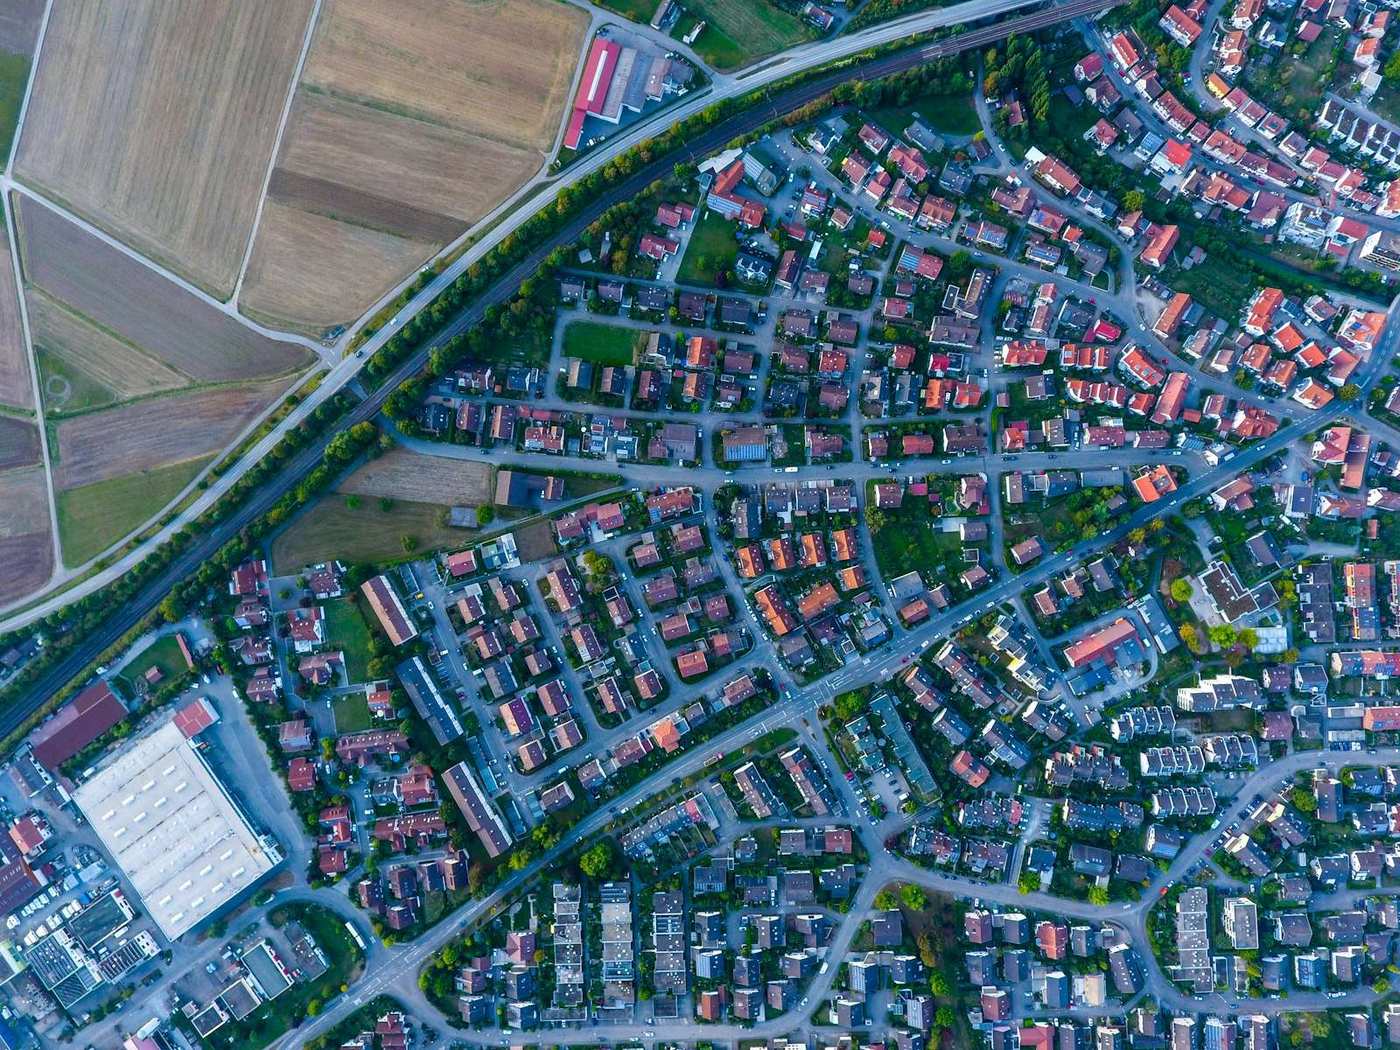
What is drone photogrammetry?
Photogrammetry is the science of taking measurements from photographs. In drone mapping, you fly over a site and capture hundreds of overlapping images. Software then finds the same physical features across many photos, works out where each photo was taken and how the camera was oriented, and reconstructs the whole scene in 3D — much like your two eyes infer depth from two slightly different viewpoints, but with hundreds of viewpoints instead of two.
From that reconstructed geometry it builds a set of professional deliverables: a georeferenced orthomosaic (a distortion-free, to-scale map you can measure on), elevation models, a dense point cloud and a textured 3D mesh. Because every pixel is tied to a real-world coordinate, the outputs aren't just pretty pictures — they're a measurable, survey-grade record of the site on the day you flew it.
What you can produce
- Orthomosaic — a seamless, to-scale aerial map. Unlike a single photo, distortion from lens and terrain is removed, so distances and areas are true. Exported as a GeoTIFF (COG).
- DSM (Digital Surface Model) — elevation of everything, including buildings, trees and stockpiles.
- DTM (Digital Terrain Model) — the bare ground with objects removed, for design and drainage.
- Point cloud (LAS/LAZ) — millions of classified 3D points for CAD, cross-sections and analysis.
- Textured 3D mesh (OBJ) — a photoreal model to inspect, present and measure in 3D.
- Derived data — contours, volumes (cut/fill), and cross-section profiles for roads and drains.
How photogrammetry works, step by step
Understanding the pipeline helps you fly better and diagnose problems:
- 1. Feature detection & matching — the software finds distinctive points (corners, textures) and matches them across overlapping images.
- 2. Structure from Motion (SfM) — from those matches it solves the position and orientation of every photo and builds a sparse point cloud. A bundle adjustment refines all cameras and points together to minimise error.
- 3. Multi-View Stereo (MVS) — it then densifies that into millions of 3D points, the detailed point cloud.
- 4. Surface & orthorectification — a mesh and elevation model are built, and each image is projected onto them to create the orthomosaic.
- 5. Georeferencing — GPS tags place the model roughly; ground control points (GCPs) or an RTK drone lock it to true survey coordinates.
This is why overlap matters so much: each ground point must appear in many images for SfM and MVS to solve it reliably.
Which output do you actually need?
Match the deliverable to the job:
- Area, distance, planning, documentation → orthomosaic.
- Volumes, earthworks, drainage, contours → DSM/DTM.
- CAD, cross-sections, integration with design software → point cloud.
- Inspection, stakeholder presentation, marketing → textured 3D model.
Most projects use several together — Orthosite generates all of them from one flight, so you don't have to choose up front.
Photogrammetry vs LiDAR
Both produce 3D data, but they suit different jobs. Photogrammetry is far cheaper, works on any camera drone, and gives you true-colour imagery and orthomosaics — ideal for open ground, stockpiles, construction and mapping. LiDAR fires laser pulses and can partially penetrate vegetation to reach the ground beneath, so it wins for dense forest or heavy canopy, but the hardware costs many times more and produces no imagery. For the majority of survey, construction and inspection work on visible surfaces, photogrammetry delivers the same centimetre accuracy at a fraction of the cost.
Why use drone photogrammetry
A drone maps in minutes what would take a survey crew days on foot — safely, without walking live sites, slopes, roofs or traffic. Instead of a handful of measured points you capture full coverage: every square metre, at 1–3 cm detail. Flights are repeatable, so you can compare a site week to week and track progress or volume change over time. And every deliverable is digital, measurable and shareable with a link. For most mapping, volume and inspection jobs it costs a fraction of a traditional survey — and gives you a permanent visual record, not just numbers.
How the workflow works in Orthosite
Orthosite runs entirely in your browser, with processing on cloud GPUs — nothing to install:
- 1. Plan & fly — good overlap and, ideally, RTK GPS or ground control (see our accurate-flight guide).
- 2. Upload — drag your JPEGs into a project; they go straight to secure EU cloud storage, so you can close the tab.
- 3. Mark GCPs (optional) — click each control target once for survey-grade accuracy and a full RMSE report.
- 4. Process — a cloud GPU builds every output and writes it back to your project.
- 5. View & measure — distance, area, volume, height differences and cross-section profiles, in your own coordinate system.
- 6. Share & export — a read-only or edit link for your client, or export GeoTIFF/LAS/DXF/KML/LandXML.
How accurate is it?
Accuracy has two parts. Relative accuracy (measurements within the model) is excellent even from GPS alone. Absolute accuracy (how well the model sits on true-world coordinates) depends on your control. The other big driver is GSD (ground sampling distance) — how much ground each pixel covers; you can't measure finer than roughly 1–3× your GSD.
With well-distributed ground control points or an RTK/PPK drone, drone photogrammetry reliably reaches 1–3 cm horizontal and 2–5 cm vertical accuracy — and Orthosite proves it with a horizontal and vertical RMSE report against independent checkpoints, so you can certify the result rather than just claim it. Without any control, results are only as good as the drone's onboard GPS (often a metre or more) — fine for visual mapping, not for legal or engineering deliverables.
Common mistakes that quietly ruin results
- Too little overlap — the #1 cause of holes and warping. Use ≥75% front / 65% side, more for 3D.
- Poorly placed GCPs — too few, or clustered in the middle; spread them to the corners and edges.
- Flying too high — a large GSD caps your accuracy no matter how good the processing.
- Water, glass and reflective or moving surfaces — they can't be matched and leave gaps.
- Changing light, harsh shadows or wind — inconsistent exposure and motion blur degrade matching.
- Featureless ground (fresh snow, uniform sand) — add targets so the software has something to match.
How long does it take, and what does it cost?
Capture: a typical small site (a few hectares) is 10–20 minutes of flight; large sites use multiple batteries or a fixed-wing. Processing: cloud GPUs turn a few hundred to a few thousand images into finished outputs in roughly tens of minutes to a few hours, depending on image count and quality — while you do other work. Because Orthosite processes in the cloud, you don't need an expensive workstation; you pay for the compute you use rather than a five-figure software licence and a powerful PC to run it on.
Who uses drone photogrammetry
Land surveyors for topographic surveys and volumes; construction & earthworks for progress tracking and cut/fill; quarries & mines for stockpile volumes; road & rail for corridors and cross-sections; agriculture for terrain, drainage and field planning; environmental & inspection teams for change detection and asset condition; and real estate & architecture for context models. Anyone who needs an accurate, current, shareable picture of a site — without spending days on the ground.
FAQ
Do I need ground control points (GCPs)?
What drone do I need?
How many photos do I need?
How long does processing take?
Should I shoot JPEG or RAW?
What is GSD?
What formats can I export?
Do I need to install software or a powerful PC?
Turn your next flight into a survey-grade result
Upload your drone photos and Orthosite builds the orthomosaic, 3D model, point cloud and elevation models in the cloud — measure, share and export in open formats.
Get started with Orthosite