
The standard flight routine
Professional mapping is flown as an automated grid — a "lawnmower" pattern: the drone flies parallel lines back and forth at a constant height with the camera pointing straight down (nadir), triggering the shutter at fixed intervals. Always use a flight-planning app (DJI Pilot, Pix4Dcapture, DroneDeploy, DroneLink, etc.) so line spacing and overlap are exact, repeatable and logged — never fly a mapping mission by hand. Set your target overlap and GSD and the app works out altitude, line spacing and trigger interval for you.
Overlap — the setting that decides accuracy
Overlap is the single biggest driver of a clean model, and it's the one thing you can't fix afterwards. The industry standard for mapping is 75–80% front (along-track) and 65–70% side (across-track). For high-accuracy surveys, complex 3D, tall structures or uneven terrain, raise it to 80–85% front / 70–75% side. The goal: every ground point appears in at least 5–9 photos from different positions — what the software needs to solve reliable 3D geometry. When in doubt, add overlap: extra flight time is far cheaper than a re-fly.
GSD, altitude and terrain following
Ground Sampling Distance (GSD) is how much ground each pixel covers — and it caps your accuracy (you can't measure finer than roughly 1–3× the GSD). Flying lower gives a smaller GSD and more detail; flying higher covers more ground per battery. Target ≤ 2–3 cm/px for survey work, finer for detailed inspection. Keep height constant relative to the ground: on hilly sites turn on terrain following (the app adjusts altitude from an elevation model) so GSD and overlap stay consistent and you don't clip a hillside. Always stay within local altitude limits and airspace rules.
Camera settings that make or break a survey
Sharp, consistent images matter as much as the flight plan:
- Shutter speed — fast enough to freeze motion, typically 1/1000 s or faster; motion blur from a slow shutter quietly wrecks feature matching.
- ISO — as low as the light allows, to keep noise down.
- Focus — fixed at infinity; never leave autofocus hunting between frames.
- Exposure — consistent across the flight; in changeable light, lock exposure or use a gentle auto so tones don't jump frame to frame.
- Format — JPEG is standard and fine for mapping; shoot RAW only if you have a specific reason.
- Lens — clean it before takeoff; one smudge appears on every photo.
RTK, PPK and ground control
For absolute accuracy you need centimetre-accurate positions, from one of two methods (ideally both):
- RTK (real-time kinematic) — the drone gets live corrections from a base station or network (NTRIP) and tags each photo to ~1–2 cm as it flies.
- PPK (post-processed kinematic) — positions are logged and corrected afterwards against base-station data; more robust to signal dropouts than RTK.
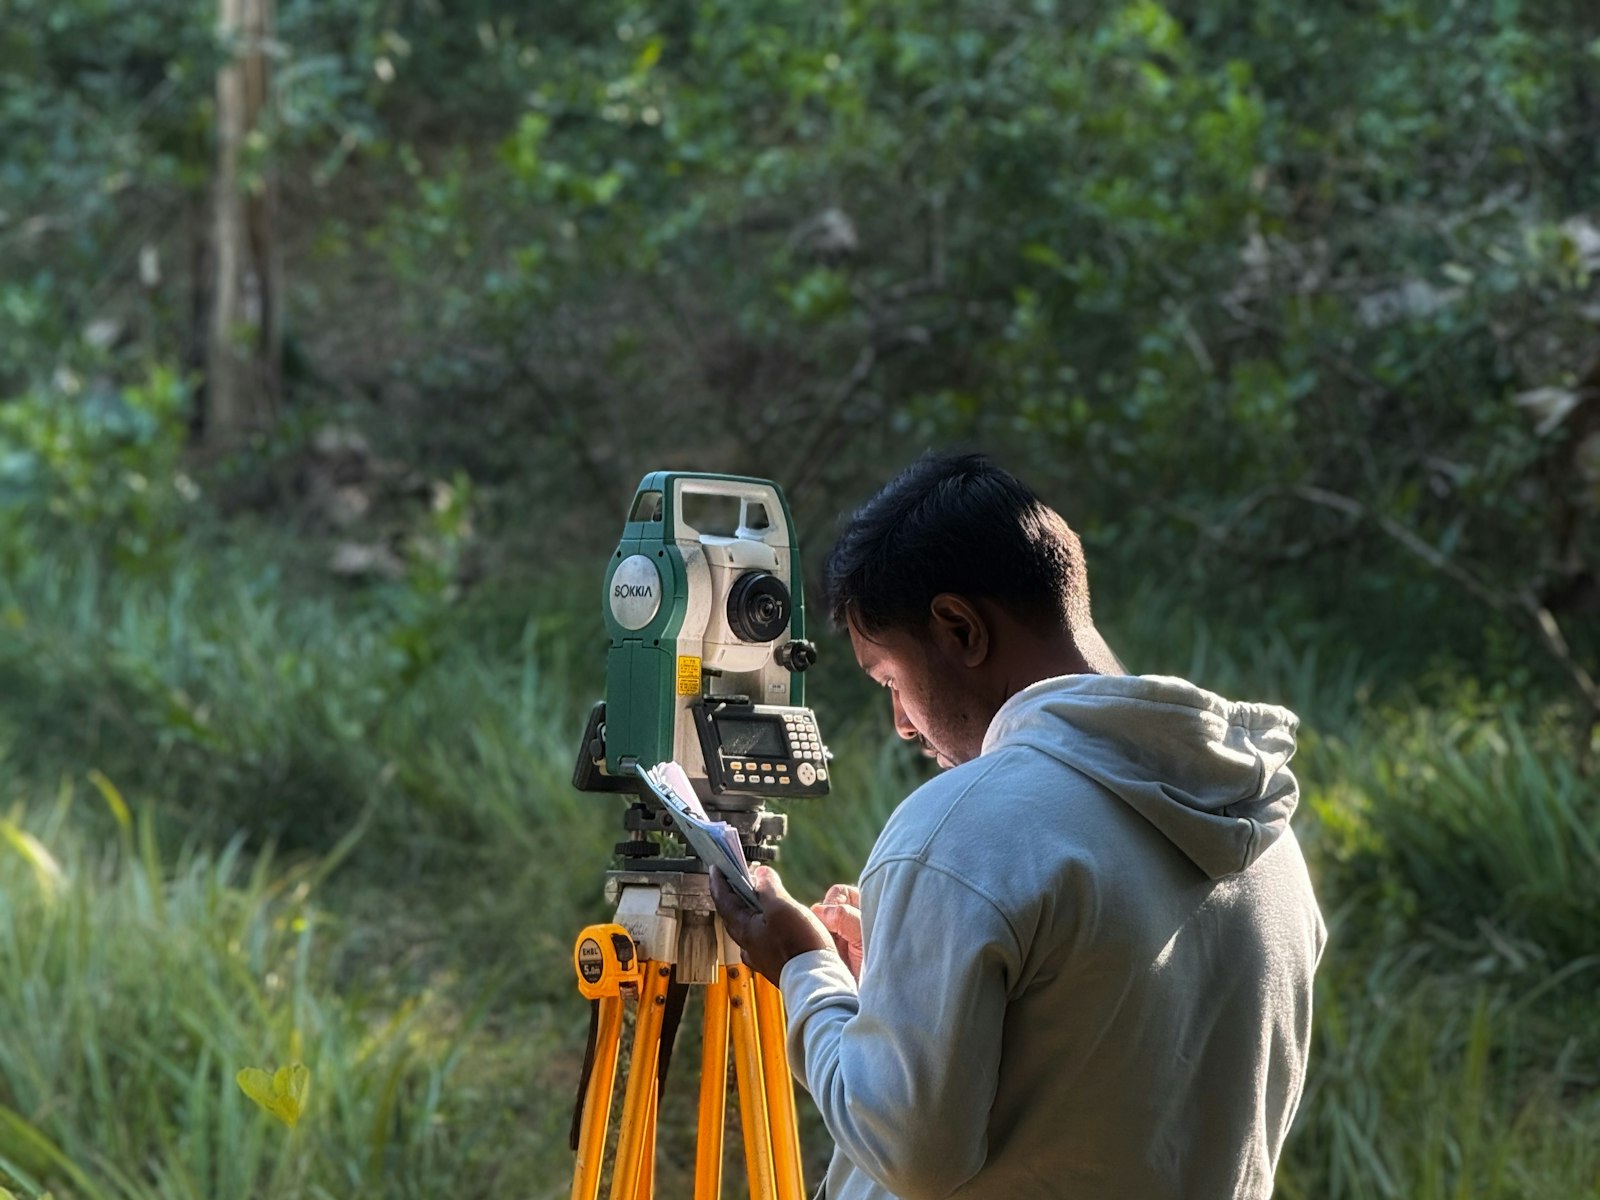
- GCPs — printed targets surveyed with an RTK GNSS rover, then marked in the images.
Feed corrections from a Trimble / Emlid / Leica base or a network service. Even with an RTK/PPK drone, lay a few GCPs or checkpoints — they catch base-station setup or datum mistakes that RTK alone won't reveal.
How many GCPs, and where to put them
Use 5–8 GCPs for a typical site (minimum 3–4). Distribution matters more than count: spread them to the corners and edges, where models warp most, add one or two in the middle, and include the highest and lowest parts of the site so vertical accuracy holds everywhere. RTK/PPK flights need fewer (4–5 on a large site) but should still carry some for verification. Make targets large enough to span several pixels at your GSD, high-contrast, and lie flat on stable ground.
Capturing true 3D: double grid + oblique
A single nadir grid is enough for flat orthomosaics and elevation models. For buildings, stockpiles, vegetation, steep faces or full 3D, add a second grid flown perpendicular to the first (a "double grid" or crosshatch) and tilt the camera 10–30° for oblique shots; for vertical structures, add orbits. The extra viewing angles dramatically improve 3D reconstruction, reduce "doming," and sharpen vertical accuracy — at the cost of more images and flight time.
Flying in the real world: weather, light and airspace
Conditions decide whether a plan survives contact with the field:
- Light — bright, even overcast is ideal; hard midday shadows and very low sun hide detail. Avoid flying across fast-moving cloud shadows.
- Wind — most mapping drones handle ~8–10 m/s, but wind tilts the aircraft and costs battery; plan lines into the wind.
- Cold — battery capacity drops; carry spares and keep them warm.
- Before you fly — update firmware, calibrate the compass/IMU if prompted, wait for a full RTK/GNSS fix, and confirm the home point.
- Airspace — check restrictions and get any permissions; fly within your local regulations and line-of-sight rules.
Prove it: checkpoints and the RMSE report
Keep 2–4 surveyed points out of the GCP set as independent checkpoints — the software never uses them, so they give an honest, external accuracy figure (GCP residuals alone can flatter a bad solve). After processing, Orthosite's accuracy report shows the horizontal and vertical RMSE against your checkpoints, so you can certify the result rather than just claim it. Well-executed RTK + GCP flights typically reach 1–3 cm horizontal and 2–5 cm vertical accuracy. See the coordinate-systems guide to make sure that accuracy lands in the right datum.
Pre-flight checklist
- Flight app set to target overlap (≥75/65%) and GSD (≤2–3 cm/px)
- Terrain following on for hilly sites
- Camera: fast shutter, low ISO, fixed focus, clean lens, consistent exposure
- GCPs/checkpoints placed and surveyed; RTK/PPK base running with a fix
- Batteries charged and warm; spares ready
- Firmware updated; compass/IMU calibrated; home point set
- Airspace checked and permissions in hand; weather within limits
- Double grid + oblique planned if you need full 3D
FAQ
How much overlap do I need?
How many ground control points?
What GSD should I fly?
What's the difference between RTK and PPK?
Do I still need GCPs with an RTK drone?
When is the best time to fly?
How do I avoid blurry photos?
Can I map hilly terrain?
Turn your next flight into a survey-grade result
Upload your drone photos and Orthosite builds the orthomosaic, 3D model, point cloud and elevation models in the cloud — measure, share and export in open formats.
Get started with Orthosite